Guides
How to Generate Receipts from a Notion Database
Learn how to generate receipts from a Notion database: set up payment records, number and calculate receipts, and create a branded PDF for each payment with one status change.
By Sanat Biswal · 2026-11-12 · 5 min read
{/ synced-from-notion — do not edit manually /}
A customer pays, and asks for a receipt.
If you do this a few times a month, you can write each one by hand. If you do it fifty times, you need a better way. The payment is already recorded somewhere, usually in Notion. The receipt is just that record, laid out on a clean page with your logo.
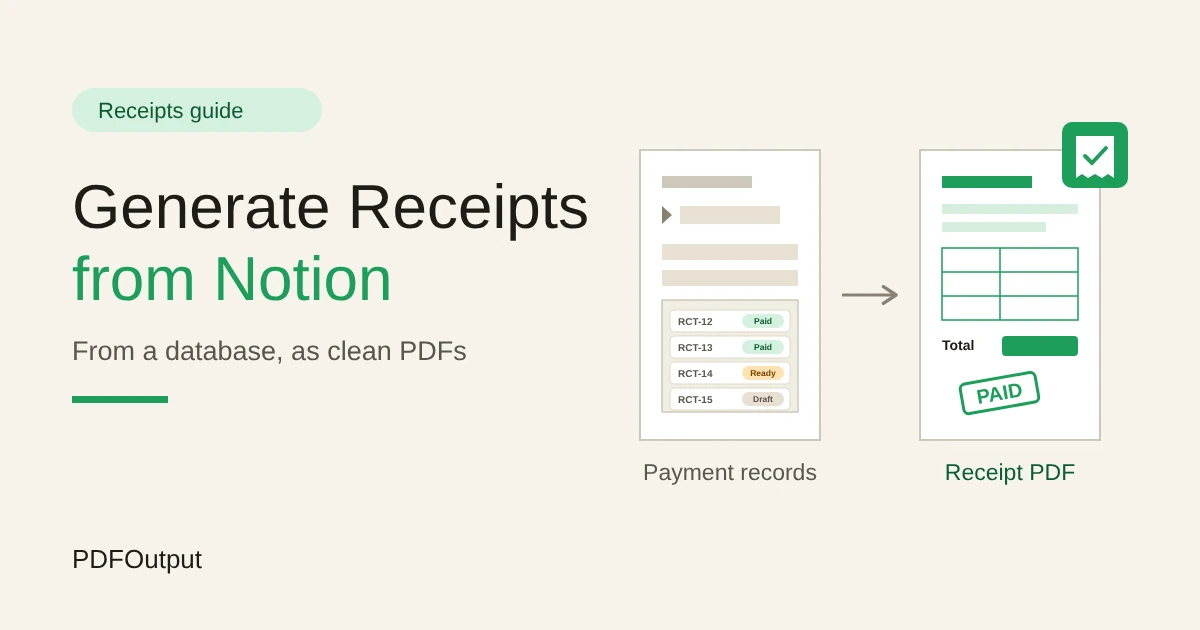
This guide shows how to generate receipts straight from a Notion database: one record per payment, formulas for the totals, a template for the layout, and a PDF for each payment created from the record.
It is to be considered general information about organizing a business, not tax or legal advice, and receipt rules differ by country.
Short answer on how to generate receipts from Notion Database:
Create a Payments database with one record per payment. Add properties for the receipt number, date, customer, description, amount, tax, total, and payment method, and use formulas for the tax and total. Build a template in Google Docs, Word, or a Notion page with placeholders that match those property names.
When the payment is confirmed, use PDFOutput to fill the template by changing the record’s status or pressing a database button, check the preview, and save the receipt PDF back to the record.
A receipt confirms that a payment was made. It’s simpler than an invoice, because it reflects something that has already happened.
That makes it a good fit for generating from a database: all the facts exist before you create the document. PDFOutput creates documents from Notion data using a template.
You add placeholders in double curly braces, such as {{Customer}}, and each placeholder must match the related Notion property name.
The finished PDF can be saved to a property in your database or to a Google Drive folder. If you also want to design the receipt, Notion Receipt Template covers the layout in more detail.
Table of Contents
Receipt, Invoice, or Something Else?
These documents are often mixed up, and mixing them up causes confusion.
| Document | What it says | When you send it |
|---|---|---|
| Invoice | “You owe this amount by this date” | Before payment |
| Receipt | “We received this amount on this date” | After payment |
| Statement | “Here is everything you’ve paid and owe” | On a schedule |
| Credit note or refund note | “We’re returning or reducing this amount” | When something is reversed |
Step 1: Create the Payments Database
Create a database called Payments. Each record is one payment, and each payment gets one receipt.
Add these properties:
- Receipt Number (see Step 2)
- Date Paid (date)
- Customer (text, or a relation to your Customers database)
- Customer Email (email)
- For (text): what the payment was for, in one or two lines
- Invoice Reference (text), if there is one
- Amount (number)
- Tax Rate (number, as a percent)
- Tax (formula)
- Total (formula)
- Payment Method (select): for example Bank transfer, Card, Cash, or Other
- Payment Reference (text): a transaction reference, and not a card number
- Status (select): Draft, Paid, Ready to Generate, Receipt Sent, or Void
- Receipt PDF (Files and media)
- Receipt Link (URL, for the Drive copy)
- Sent On (date)
- Never delete a payment record to fix a mistake. Deleting leaves a gap in the sequence. Set the Status to Void, and add a note explaining why.
- Never reuse a number. If a receipt was wrong, create a new one, and mark the old one Void.
- Add your logo, business name, address, and any tax or registration number your rules require.
- Add the title “Receipt,” and a PAID mark, if you like.
- Add placeholders in double curly braces wherever a value should appear.
- Add a short footer with a thank-you and your contact details.
- Ready to Generate creates a PDF from the database record.
- Generate Page converts the Notion page into a PDF.
- Generate PDF and Doc creates a PDF and a Google document.
- Preview creates a Google document so you can check it before making the final PDF.
- Generate E-Signed Doc creates an e-signed PDF in the database workflow.
- Preview. For your first few receipts, and after any change to the template, set the status to Preview. PDFOutput creates a Google document from the record, so you can read it as the customer will.
- Ready to Generate. When the preview looks right, set this status to create the PDF from the record. If you also want an editable copy, Generate PDF and Doc creates both.
- Is the customer’s name right, and is it the right payment?
- Does the amount match what you actually received?
- Do tax and total add up?
- Is the date the date the money arrived, not the date you’re writing it?
- Are any placeholders empty?
- Does the layout look clean, with nothing cut off?
- Never store card numbers, security codes, or bank logins in Notion. A transaction reference is enough.
- Send each receipt only to the person who paid, and check the address.
- Share Drive links with named people, and remove access when it’s no longer needed.
- Keep your Payments database private to the people who need it.
- Check how long you must keep receipts under your local rules, and where.
- Before using any document tool with customer information, ask the provider how data is handled, where it’s stored, and what agreements are available, and keep the answers with your records.
- Notion Receipt Template
- How to Export Notion to PDF
- How to Create Monthly Client Reports Automatically from Notion
- How to Add Your Logo and Brand Colors to Notion PDFs
Keep the property names short and plain, because you’ll match them in the template. A Payment database template with the right fields, and the status set to Draft, saves time.
Step 2: Number Your Receipts
Receipts should be easy to find and hard to confuse. A unique, increasing number is the simplest way.
Notion has a Unique ID property type that adds a number, with an optional prefix, to each new record. Use a prefix such as RCT, so numbers read RCT-1, RCT-2, and so on.
If your plan doesn’t offer it, use a number property and keep track of the last one yourself. Check the availability on your plan.
Two rules keep numbering clean:
Some places have rules about sequential numbering and how long you must keep receipts, so check what applies to you.
Step 3: Calculate Tax and Totals
Tax is where receipts often go wrong. The first decision is whether your amounts include tax or not.
If the amount is before tax, add tax on top:
``
Tax:    prop("Amount") * prop("Tax Rate")
Total:  prop("Amount") + prop("Tax")
`
If the amount already includes tax, work out the tax inside it:
`
Net:    prop("Total Paid") / (1 + prop("Tax Rate"))
Tax:    prop("Total Paid") - prop("Net")
`
Here are two made-up examples. Amounts are in your own currency.
| Tax added on top | Tax already included | |
|---|---|---|
| Amount before tax | 250 | 100 (worked out) |
| Tax rate | 10% | 18% |
| Tax | 25 | 18 |
| Total paid | 275 | 118 |
Tax rules differ by country, and some items have different rates or none, so check what applies to you. Test the formulas with made-up payments and check them against a calculator before you use real ones.
If you use more than one currency, add a Currency property, and show it in the receipt text. Format your number properties as currency, then check how they look in the preview.
Step 4: Build the Receipt Template
The template is where the look of the receipt lives. You build it once, and every receipt uses it.
PDFOutput accepts a Google document, a Word file, a PDF file, or a Notion page as a template. Most people use a Google Doc or a Word file, so they can design it like any document.
A simple layout works best.
| Section | Placeholders |
|---|---|
| Header | {{Receipt_Number}}, {{Date_Paid}} |
| Customer | {{Customer}}, {{Customer_Email}} |
| What it’s for | {{For}}, {{Invoice_Reference}} |
| Amounts | {{Amount}}, {{Tax}}, {{Total}} |
| Payment | {{Payment_Method}}, {{Payment_Reference}} |
The way names with spaces are written as placeholders depends on your setup, so confirm the format in PDFOutput’s setup before building a large template.
How to Add Your Logo and Brand Colors to Notion PDFs explains why branding belongs in the template.
Keep the receipt to one page. If a payment covers several items, write them as a short text summary in the For property, such as “Design work, 12 hours, and hosting for November.” A template that lists several linked records depends on a feature I haven’t confirmed, so a text summary is the safe approach.
Pro Tip: Build the template with the longest realistic text in the "For" field, so you know the layout holds up when a description runs to two lines.
Step 5: Generate the Receipt
PDFOutput creates the document from the record. You can start generation with a Notion database button or a status property. These are some of the status options:
For receipts, use two of them.
If you’d like a one-click routine, add a Notion database button, such as “Generate receipt,” that starts generation for the record you’re on. Some Notion plans also let a database automation change the status when another property changes, so marking a payment Paid could start the receipt. Check what your plan includes, and test it with one payment first. A human step before the PDF is created is a good safeguard.
The finished PDF can be saved to a property in your database, such as Receipt PDF, so the receipt stays attached to its payment.
You can also save it to a Google Drive folder and store the link in a database property, such as Receipt Link. Use the receipt number in the file name, so receipts are easy to find. Check how your setup names files.
PDFOutput can generate documents for many records at once effectively generating bulk pdfs at once.
If you have a lot of receipts, you can generate several receipts at once. Building this automation you can definitely save a lot of time than doing it manually by hand each time.
Step 6: Check, Send, and Record
Read every receipt before the customer sees it. A short checklist helps:
Then send it. You can attach the PDF to an email, or share the Drive link with the customer’s address.
Share Drive links with named people, and not with anyone who has the link, if the receipt has personal details. After sending, set the Status to Receipt Sent, and fill in the Sent On date.
Add a view called To send, showing records with the status Ready to Generate or Paid and no Sent On date, and another called Missing PDF, showing records marked Receipt Sent with no PDF attached. A quick formula flag helps with the second:
`
PDF check: if(prop("Status") == "Receipt Sent" and empty(prop("Receipt PDF")) and empty(prop("Receipt Link")), "Missing PDF", "")
`
Test the flag with a made-up record, because the way an empty file property is checked can vary by version.
Awkward Cases: Partial Payments, Deposits, and Refunds
Real life isn’t always one payment for one invoice.
Partial payments. Create a Payment record, and a receipt, for each payment. Add the Invoice Reference and a Balance Remaining property, calculated from the invoice total minus all payments, so the receipt can say how much is still owed. Make sure the receipt doesn’t suggest the invoice is paid in full when it isn’t.
Deposits. Treat a deposit as a payment, and write “Deposit” in the For field. When the final payment arrives, issue a separate receipt, and mention the earlier deposit.
Refunds. A refund isn’t a receipt. It’s a reversal, usually documented with a credit note or a refund note, and the rules differ by place. Don’t edit the original receipt. Create a separate record, mark it clearly as a refund, and link it to the original. Have your wording checked by someone qualified.
Corrections. If a receipt has a mistake, set the old record to Void, create a new one, and keep both. Explain the change in a note.
Cash payments. Record the date and the amount carefully, and issue a receipt at once, since there’s no bank record to rely on.
A Month of Receipts
To see how this works day to day, here is a made-up month for a small design studio.
Day 1. A client pays an invoice by bank transfer. The bookkeeper adds a Payment record: the customer, the invoice reference, the amount, and the method. The formulas show the total.
Day 1, later. She presses the Generate receipt button. The preview opens. The numbers are right, so she sets Ready to Generate, and the PDF appears in the Receipt PDF property.
Day 1, end. She emails the PDF, and sets the status to Receipt Sent.
Day 12. A customer pays half an invoice. She records the payment, notes the balance, and generates a receipt that says “Partial payment.”
Day 20. A client asks for a copy of a receipt from three months ago. She searches the Payments database by customer, and opens the PDF in a few seconds.
Day 30. She opens the Missing PDF view. It’s empty. She exports the month’s payments as a CSV for the accountant. Notion to Excel explains how CSV files behave, including the date problems that trip people up.
No receipt was typed from scratch.
Troubleshooting
A field is blank on the receipt. The placeholder doesn’t match the property name, or the property is empty. Copy the name from Notion again, and check the record.
The total looks wrong. Check the tax formula, and whether your amounts include tax. Compare with a calculator.
Decimals look odd. Format number properties as currency, and look at the preview. If the PDF shows too many or too few decimals, build the value as text with a formula, and use that in the template.
The date is in the wrong format. Build the date as text with a formula, such as formatDate(prop("Date Paid"), "D MMMM YYYY")`, and use that in the template.
The PDF isn’t attached. Check the status you used, and where your setup saves files. Look at the Drive folder, if you chose one.
Two receipts for one payment. The status was set twice, or two records exist. Void the extra, and keep a note.
A receipt number is missing from the sequence. A record was deleted. Avoid deleting records, and mark them Void instead.
The layout breaks with a long description. Test your template with long text, and give the For field room to grow.
Keeping Payment Data Safe
Receipts contain names, amounts, and sometimes more, so treat them with care.
Frequently Asked Questions
Can I generate receipts from a Notion database?
Yes. Keep one record per payment, calculate the tax and total with formulas, build a template with placeholders that match your property names, and use a tool such as PDFOutput to fill the template when you change the record’s status or press a button.
How do I number receipts in Notion?
Use a Unique ID property with a prefix such as RCT, if your plan offers it. Never delete a record to fix a mistake, and mark it Void instead, so the sequence stays clean.
How do I calculate tax on a receipt in Notion?
If the amount is before tax, multiply by the tax rate and add it. If the amount already includes tax, divide the total by one plus the rate to find the net, and subtract to find the tax. Check the result against a calculator.
Is a receipt the same as an invoice?
No. An invoice asks for payment, and a receipt confirms that payment was received. Only issue a receipt after the money has arrived.
Can I create a receipt for a partial payment?
Yes. Record each payment separately, issue a receipt for each, and include the invoice reference and the balance remaining, so the receipt doesn’t suggest the invoice is paid in full.
Does PDFOutput save receipts to Google Drive?
PDFOutput can save generated files to a property in your database, and it can save them to a Google Drive folder, with the link stored in a database property. Check your setup for how files are named.
What should I do if a receipt has a mistake?
Don’t edit it or delete it. Set the record to Void, create a corrected one, and keep a note about the change.
Related Reading
Conclusion
Generating receipts from a Notion database comes down to one record per payment, honest formulas for tax and totals, a template with matching placeholders, and a preview you read before anything is final. Start with one payment, check every number, and add the button and the automation once you trust the setup. When you’re ready to try it, PDFOutput can fill your template from each payment record and save the receipt PDF back to your chosen storage.
Want receipts as clean PDFs, straight from your Notion database? Try PDFOutput.