Guides
How to Create Monthly Client Reports Automatically from Notion
Learn how to create monthly client reports from Notion: set up report records, calculate the numbers, design a template, and generate a branded PDF with one status change.
By Sanat Biswal · 2026-11-06 · 5 min read
{/ synced-from-notion — do not edit manually /}
Month-end is when good teams lose a day.
The work is done, but the report isn’t. Someone opens last month’s document, copies it, and starts replacing numbers: hours here, tickets there, a screenshot from a tool, a paragraph about what went well.
It takes two hours per client, and the layout drifts a little every month.
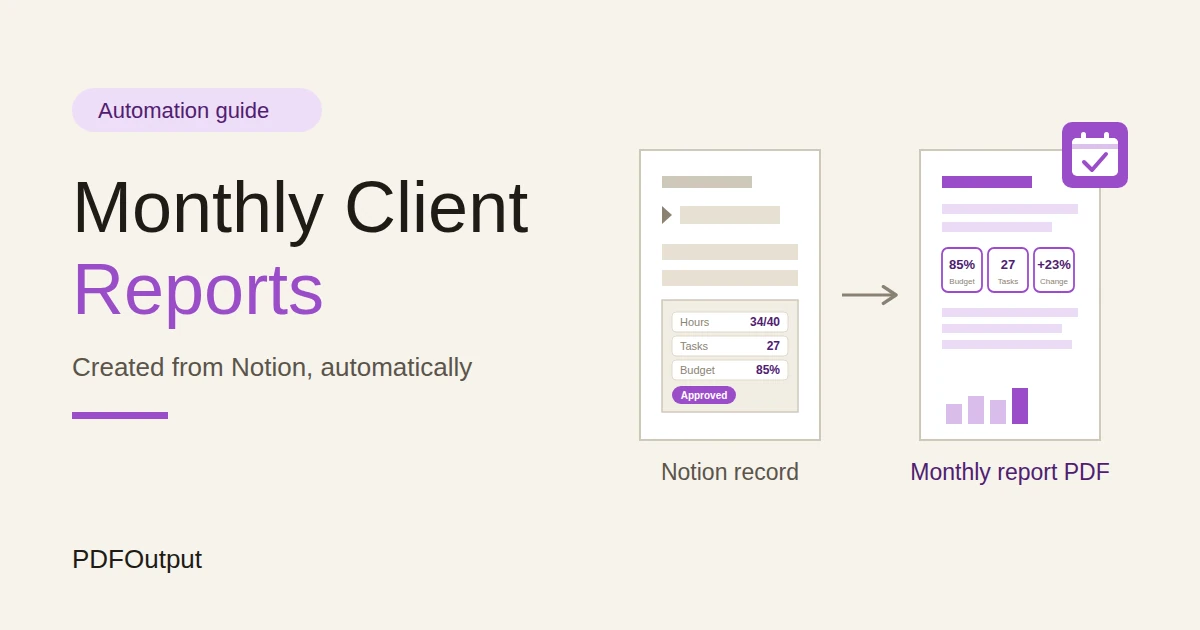
If your work already lives in Notion, most of those numbers are already there. This guide shows how to turn that data into a monthly client report: a single report record per client per month, a template that holds the layout, and a status change that produces the PDF.
It works for agencies, consultants, IT support companies, PR firms, property managers, bookkeepers, and anyone else who sends clients a monthly summary.
Short answer:
Create a Monthly Reports database with one record per client per month. Put every number and every written section the report needs into clearly named properties on that record, and use formulas and rollups to calculate the numbers.
Build a template in Google Docs, Word, or a Notion page with placeholders that match those property names. Use PDFOutput to fill the template when you change the record’s status, then check the preview, generate the final PDF, and save it back to the record.
In more detail:
The key idea is to keep everything the report needs on one record. A report that pulls from many linked records is harder to build and harder to check.
A report that reads from one record, with numbers calculated in advance, is simple: each placeholder in the template matches one property.
PDFOutput creates documents from Notion data using a template, and it can start from a Notion database button or a status property, so the monthly routine becomes a handful of clicks per client. You still write the human parts yourself, because the best client reports combine numbers with a short, honest explanation.
Table of Contents
What “Automatic” Really Means Here
It helps to be clear about what can be automatic and what shouldn’t be.
Can be automatic:
- Calculating the numbers from your records
- Filling the template with those numbers and the text you wrote
- Applying the same layout, logo, and fonts every month
- Creating the PDF and saving it to the record and a folder
- Deciding what the numbers mean
- Writing the highlights and recommendations
- Checking that the report is right before the client sees it
- A header: the client’s name, the period, and your branding
- A short summary: two or three sentences in plain words
- Key numbers: four to eight figures that matter to this client, ideally with last month beside them
- Highlights: what went well, and what you did
- Issues and risks: anything the client should know, stated honestly
- Next month: the plan, and any decisions you need
- Contact: who to talk to
- Client (relation to your Clients database)
- Period Start and Period End (dates)
- Period Label (a formula, see Step 4)
- Status (Draft, Ready for Review, Approved, or Sent)
- Metric properties (see Step 3)
- Summary, Highlights, Issues and Risks, and Next Month (text)
- Report PDF (Files and media, where the finished file goes)
- Report Link (a URL, for the Google Drive copy)
- Summary: two or three sentences. Start with the headline: “A strong month, with the new landing page live and response times back under target.”
- Highlights: three to five bullets, each with a result, not just an activity. “Published six articles” is activity. “Six articles published, two of them now on page one for their target search” is a result, if it’s true.
- Issues and Risks: be honest. If something slipped, say what, why, and what you’re doing about it. Clients forgive problems that are explained early.
- Next Month: what’s planned, and any decision you need from the client, with a date.
- Create the layout: your logo, a heading for the client and period, a summary block, a table for the key numbers, and sections for highlights, issues, and next month.
- Wherever a value should appear, type a placeholder in double curly braces, such as {{Client_Name}}
,{{Period_Label}},{{Summary}},{{Budget_Used_Text}}, or{{Highlights}}. - Make each placeholder match the name of its Notion property. Copy the property names, and don’t retype them, so a spelling or capital-letter difference can’t break one.
- Keep the layout flexible: leave room for text to grow, and avoid fixed-height boxes for the written sections.
- Ready to Generate creates a PDF from the database record.
- Generate Page converts the Notion page into a PDF.
- Generate PDF and Doc creates a PDF and a Google document.
- Preview creates a Google document so you can check it before making the final PDF.
- Generate E-Signed Doc creates an e-signed PDF in the database workflow.
- Preview. Set the status to Preview first. PDFOutput creates a Google document from the record, so you can read the report as the client will, and fix problems before anything final exists.
- Ready to Generate. When the preview is right, set this status to create the PDF from the record. If you also want an editable copy, Generate PDF and Doc creates both.
- Is it the right client, and the right month?
- Do the numbers match your source records?
- Are there any empty placeholders or blank sections?
- Do dates, percents, and money read the way you want?
- Does the text fit, with nothing cut off or overlapping?
- Is anything in it that the client shouldn’t see, such as notes about other clients?
- Does the tone match what you’ve told the client in person?
- This month: reports for the current period, grouped by status.
- Needs review: reports with the status Ready for Review.
- Not sent: reports that are Approved but not Sent, so none are forgotten.
- Send each report only to the people who should have it, and check the address.
- Don’t put anything in a report that came from another client.
- Share Drive links with named people, and remove access when a contact leaves.
- Keep report records and folders private to the people who need them.
- Don’t include passwords, access codes, or anything secret in a report.
- Check your contracts for rules about where client information may be stored.
- Before using any document tool with client information, ask the provider how data is handled and where it’s stored, and keep the answers with your records.
- How to Use Notion for an Agency
- How to Use Notion for Consultants
- How to Use Notion for an IT Services Company
- How to Export a Notion Database to PDF
Shouldn’t be automatic:
A report that nobody reads before it goes out will eventually embarrass you with an empty field, a wrong client name, or a number that doesn’t match what you told them last week.
So the goal is not “no human.” The goal is “no copying and pasting.” You spend your time on the thinking, and the machine spends its time on the formatting.
What a Good Monthly Report Contains
Clients don’t want a data dump. They want to know three things: what happened, what it means, and what happens next. A good one-to-two page monthly report has:
Keep the numbers few. If every report has twenty metrics, none of them stands out. Pick the ones that connect to what the client cares about, and agree them at the start of the engagement.
Step 1: Create the Monthly Reports Database
Create a database called Monthly Reports, with one record for each client for each month. Name each record clearly, such as “Acme, November 2026”.
Add these properties:
Use a short Report database template, so each new record starts with the same layout and empty fields. Keep the property names plain and consistent, with no spaces or odd symbols if you can avoid it.
You’ll copy them into the template in Step 6, and each placeholder must match its property name exactly.
Step 2: Get the Numbers Into the Report
The numbers come from somewhere: tasks, time entries, tickets, payments, bookings, or a tool outside Notion. You have three ways to get them onto the report record.
Option 1: Month label and footer totals (simplest). Give each entry a Month label, such as “2026-11”. In a table view of entries filtered to one client and one month, the footer can show a sum or a count. Type those into the report. It takes a minute per number, and it’s the easiest to start with.
Option 2: Relate entries to the report (best). Add a relation from your entries (tasks, tickets, time entries) to Monthly Reports. When an entry belongs to a month’s report, a rollup on the report can count or sum it. Setting the relation takes some effort. You can set it when you create the entry, with a database template, or with a database automation if your plan has one. In a table view, you can often select several rows and set the same value at once, so check what your version allows.
Option 3: Import from another tool. If your numbers live elsewhere, such as an analytics tool or an accounting system, export a CSV and type or import the few figures you need. Notion to Excel explains how CSV files behave, including the date problems that trip people up.
Whichever option you choose, check what rollups and filters your plan and your version of Notion support, because options vary. Start with Option 1 for the first two months, and move to Option 2 when you’re confident in the report’s design.
Step 3: Calculate the Metrics With Formulas
Let formulas do the arithmetic, so the numbers are always consistent. Here is a made-up report for a client on a 40-hour monthly retainer.
| Metric | Property | Value |
|---|---|---|
| Hours included | Hours Included | 40 |
| Hours used | Hours Used | 34 |
| Budget used | Budget Used (formula) | 85% |
| Tasks completed | Tasks Done | 27 |
| Tasks completed last month | Tasks Last Month | 22 |
| Change vs last month | Task Change (formula) | +22.7% |
``
Budget Used:  if(prop("Hours Included") > 0, prop("Hours Used") / prop("Hours Included"), 0)
Hours Left:   max(prop("Hours Included") - prop("Hours Used"), 0)
Task Change:  if(prop("Tasks Last Month") > 0, (prop("Tasks Done") - prop("Tasks Last Month")) / prop("Tasks Last Month"), 0)
`
The change formula needs last month’s number. Enter it by hand, or add a relation called Previous Report and bring the value in with a rollup. Test the formulas with made-up data and check them against a calculator before you use real client numbers.
Choose the metrics that fit your business. Examples are tickets closed and SLA percent for IT support, coverage pieces for PR, rent collected for a property manager, or posts published for social media. Keep them to a few, and keep the same ones every month, so clients can compare.
Pro Tip: Give every metric a "Last Month" partner. A number alone says little, and a number beside last month's tells a story.
Step 4: Format Values So They Read Well
A report that shows “0.85” where a human would write “85%” looks unfinished. Notion’s property formats don’t always carry over the way you expect, so make the final text on purpose.
Add text formulas for anything a person will read:
`
Period Label:      formatDate(prop("Period Start"), "MMMM YYYY")
Budget Used Text:  format(round(prop("Budget Used") * 100)) + "%"
Task Change Text:  if(prop("Task Change") >= 0, "+", "") + format(round(prop("Task Change") * 1000) / 10) + "%"
Hours Text:        format(prop("Hours Used")) + " of " + format(prop("Hours Included")) + " hours"
`
Use these text properties in the template, and not the raw numbers. The result will read “85%,” “+22.7%,” and “34 of 40 hours.” Money works the same way.
If you want a currency symbol and thousand separators, build the text in a formula and check the result in the preview. Dates are the most common problem, so decide on one format for all your reports, and use it everywhere.
Step 5: Write the Human Sections
This is the part clients value most, and the part a template can’t do for you. Write four short sections on each report record:
Keep each section short, so it fits the template. Write in plain words, and in the first person plural if that’s how you speak to the client. Read each one aloud. If you wouldn’t say it to the client’s face, rewrite it.
Step 6: Build the Template
The template is where the look of the report lives. You build it once, and every month’s report uses it.
PDFOutput accepts a Google document, a Word file, a PDF file, or a Notion page as a template. For most teams, a Google Doc or a Word file is the easiest, because you can design it the way you design any document.
A simple layout works best:
| Section | Placeholders |
|---|---|
| Header | {{Client_Name}}, {{Period_Label}} |
| Summary | {{Summary}} |
| Key numbers table | {{Hours_Text}}, {{Budget_Used_Text}}, {{Tasks_Done}}, {{Task_Change_Text}} |
| Highlights | {{Highlights}} |
| Issues and risks | {{Issues_and_Risks}} |
| Next month | {{Next_Month}}` |
How to Add Your Logo and Brand Colors to Notion PDFs explains why branding belongs in the template, and not in each page.
Step 7: Generate the Report With PDFOutput
PDFOutput creates documents from your Notion data using the template. You can start from a Notion database button or a status property. These are some of the status options:
For monthly reports, use two of them:
The finished file can be saved to a property in your database, such as the Report PDF property, so each report stays attached to its client and month. You can also save it to a Google Drive folder and store the link in a database property.
Use a clear file name, such as the client and the period, so reports are easy to find. Check how your setup names files, and adjust it if you can.
I haven’t confirmed whether PDFOutput can generate documents for many records at once. If you have forty clients, test with two or three, and see whether you set the status on each record, or whether your setup lets you do it faster.
Either way, the saving comes from not building each report by hand.
Step 8: Check Before You Send
Every report should be read once by a person before a client sees it. A short checklist helps:
Keep a Reviewed By and a Reviewed On property on the record, and move the status to Approved when the check is done. Only then should the report go out.
A report that goes out unchecked once in a while is a report that will eventually go to the wrong person.
How you send it is up to you: attach it to an email, share the Drive link, or upload it to a client portal. Share Drive links with specific people, and not with anyone who has the link, if the report contains anything sensitive.
The Monthly Routine
A routine turns this from a project into a habit. Here is one that takes a team about half a day for a dozen clients, instead of several days.
| When | What |
|---|---|
| Last day of the month | Check that all entries for the month are in Notion |
| Day 1 | Create a report record for each client from the template. Fill in or roll up the numbers |
| Day 1 to 2 | Write the summary, highlights, issues, and next month for each client |
| Day 2 | Set each record to Preview. Read the preview, fix problems |
| Day 3 | A second person reviews. Set the status to Approved |
| Day 3 | Set the status to Ready to Generate. Send the PDFs |
| Day 3 | Set the status to Sent, and note the date |
Make three views of Monthly Reports:
Examples for Different Businesses
The same pattern works across many kinds of work. Only the metrics and the sections change.
| Business | Key numbers | Written sections |
|---|---|---|
| Agency | Hours used and left, tasks done, spend vs budget | Highlights, risks, next month |
| IT support | Tickets closed, SLA percent, average first response | Incidents, renewals due, recommendations |
| PR firm | Pitches sent, coverage pieces, message pull-through | Top coverage, what we’ll change |
| Property manager | Rent collected, repairs open, vacancy | Maintenance notes, upcoming leases |
| Bookkeeper | Invoices sent, unpaid total, bills due | Questions for the client, deadlines |
| Social media manager | Posts published, reach, engagement | What worked, content plan |
Troubleshooting
A field is blank in the PDF. The placeholder doesn’t match the property name, or the property is empty. Copy the name from Notion again, and check the record.
A number looks wrong. Check the formula and the source entries. Use the preview to compare the report to your records.
A percent shows as a decimal. Use a text formula, as in Step 4, and put that in the template.
A date is in the wrong format. Build the date as text with a formula, and use it in the template.
The text overflows or looks cramped. Give the template room for longer text, shorten the written sections, or use smaller fonts for body text.
The wrong client’s data appears. Check the record you triggered. Always read the preview before you generate the final PDF.
The PDF isn’t in the property or the folder. Check your setup for where files are saved, and look at the status property for errors.
The layout breaks when a section is long. Test your template with a record that has the longest realistic text, and fix it before you rely on it.
Keeping Client Data Safe
A monthly report holds information about a client’s business, so treat it with care.
Frequently Asked Questions
Can I create monthly client reports automatically from Notion?
You can automate the formatting and the filling in. Keep the numbers and text for each report on one record, build a template with placeholders, and use a tool such as PDFOutput to generate the PDF when you change the record’s status. You’ll still write the explanations and check each report before it goes out.
What should a monthly client report include?
A header, a short summary, a few key numbers with last month beside them, highlights, honest issues and risks, and the plan for next month. Keep it to one or two pages.
How do I get monthly numbers into the report record?
Use a month label and footer totals to start. When you’re ready, relate your entries to the report and use rollups, or import a few figures from another tool. Check what rollup and filter options your plan supports.
How do I make percentages and dates look right in the PDF?
Build them as text with formulas, such as turning 0.85 into “85%” and a date into “November 2026”, and use those text properties in your template. Check the preview before you generate the final PDF.
Does PDFOutput send the report by email?
PDFOutput creates the document from your template and saves it to a property in your database, or to a Google Drive folder with the link in a property. Check its current documentation for any other options. You can send the file by email yourself, or share the Drive link.
Can I generate reports for many clients at once?
Test it with a few clients first. You can set the status on each client’s report record, and check what your setup allows for doing several at a time.
How do I stop mistakes before a report reaches a client?
Always preview first, use a short checklist, and have a second person approve the report. Keep a status for each report so you can see which are approved and which are sent.
Related Reading
Conclusion
Monthly client reports stop being a chore when the numbers and the words live on one record, the layout lives in a template, and a status change makes the PDF. Start small: one client, four metrics, and a preview you read carefully. Add more clients as you trust the setup, and keep the human sections honest and short. When you’re ready to try it, PDFOutput can fill your template from each report record and save the PDF to your chosen storage.
Want monthly client reports as clean PDFs, without the copy and paste? Try PDFOutput.