Tutorials
How to Generate Purchase Requests on Automation in Notion
A step-by-step guide on how to automate purchase request PDF generation using Notion and PDFOutput — from database setup to e-signed documents, no code required.
By Sanat Biswal · 2026-08-30 · 12 min read
If your team still creates purchase requests by copying a template, filling in vendor details by hand, and emailing it around for approval, you're losing a lot of time every time you repeat this process on a daily basis.
Notion is an amazing tool which can act as a simple CRM tool that can convert your Purchase Requests to a fully automated workflow, where a form submission or a status change can help to trigger the approval workflow that can turn purchase requests to a fully automated workflow.
In this process a form submission or a status change can help to trigger an approval flow and produce a clean, shareable PDF, with zero manual formatting involved.
This guide covers exactly how to set that up, i.e. building the purchase request database, setting up PDFOutput automation with notion, and then generating Purchase Request PDF documents automatically so that every purchase request is ready to send to a vendor or finance team whenever its ready to be sent.
Why Do We Need To Automate Purchase Requests in Notion
Purchase requests are repetitive form of documents by nature, which means it contains the same fields, same approval steps, same document structure for each document that is produced each time, thus making this the perfect document to be automated.
Creating an automation system to produce purchase requests can give you:
- Consistency – Every Purchase Request created follows the same format, so nothing gets missed.
- Speed – Every Purchase Request moves from submission to approval without manual chasing.
- Audit trail – Every Purchase Request, approval, and PDF generated is stored back to Notion workspace.
- Professional output – Creates a properly formatted purchase request PDF instead of a screenshot or a rough Notion page.
- Request ID – a unique identifier to identify the request made (Notion's auto-numbering formula works well here).
- Requested By – a person property to identify the person who raised the request.
- Department – the department the request is being raised for, so spend can be tracked and routed by team.
- Vendor Name – the supplier or vendor the purchase will be made from.
- Items or Description – what's being purchased, in enough detail for an approver to understand the request without asking follow-up questions.
- Quantity and Unit Price – the number of units being requested and the cost per unit, used to calculate the total spend.
- Total Amount – a formula multiplying quantity by unit price, so the request's total cost is calculated automatically.
- Date Needed – the date by which the items or service are required, so approvers can prioritize time-sensitive requests.
- Status – a select property with options like Draft, Pending Approval, Approved, Rejected, PO Generated, used to trigger every automation in this workflow.
- Approver – a person property identifying who is responsible for reviewing and approving the request.
- Keep the header always consistent with your business's branding (logo, color palette, fonts).
- Always clearly separate request details, line items, pricing, and approval sections into distinct sections.
- Include a request ID or reference number for easy tracking and verification.
- Add a short note for approval instructions — it costs nothing but improves the workflow experience.
- Once the e-signed PDFs are created, setup an inbuilt automation inside Notion which can send the PDFs to the desired recipient.
- You can even post a slack message to the personnel if required whenever a pdf gets generated.
- Other automations that can be added would include updating a linked budget expense tracker Database so that all the approved purchase requests gets added to the spendings automatically.
- Mismatched property names - If you add any properties whose name doesn't match with the name as mentioned in the notion Database, it can lead to a mismatch and thus not produce the suitable PDF with all placeholders replaced as expected. A property mismatch can happen due to capitalisation or even any extra special character being used while defining the placeholders.
- Defining the trigger clearly – Automations need to run on a clear trigger. Always use the default GeneratePDF property (added by default) which can be marked as Ready to Generate that can produce the PDFs as expected.
- No approval gate before PDF generation – Always prefer to generate the PDF only after approval, not at the time of submission, so you never send any unapproved request to a vendor by mistake.
- Always use an active automation - If you have setup an automation make sure it's status is set as active. You can check the status of the automation in the PDFOutput dashboard once it's setup.
The 2 pieces you would need for this entire automation is a structured notion database and connection with PDFOutput to turn each database entry into a document.
Let's setup both of the above...
Step 1: Build a Purchase Request Database in Notion
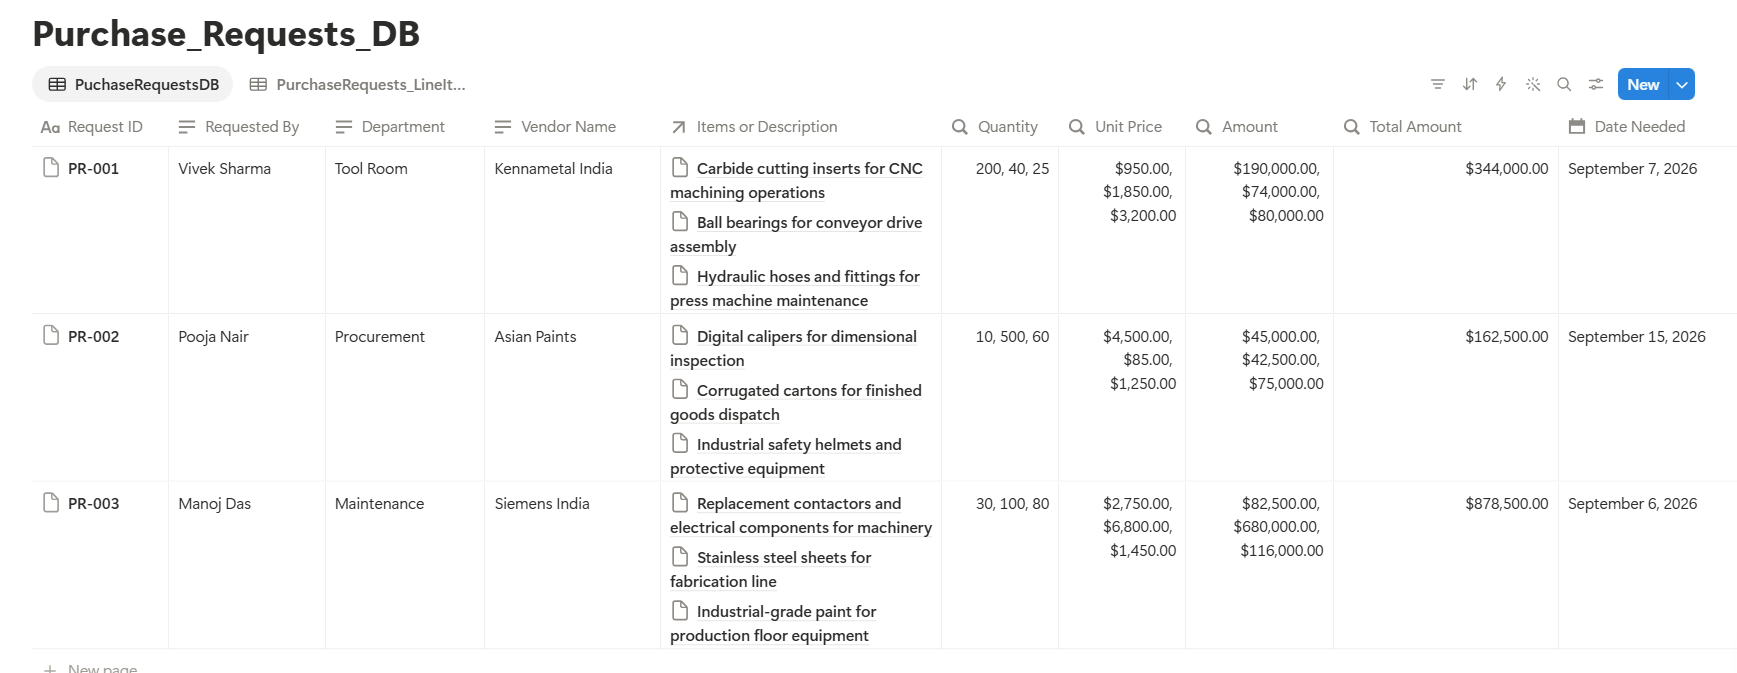
Start with a Notion database (not a page) so each purchase request is its own row with structured properties.
Include the following properties in the notion database:
Create a notion form on top of this, i.e. first setup a notion form with all of the above fields and when the data will be entered onto the notion form it will automatically be saved onto the notion database with the above fields.
Every new submissions received from the notion form will be saved onto the notion database automatically.
Step 2: Create a Reusable Purchase Request PDF Template
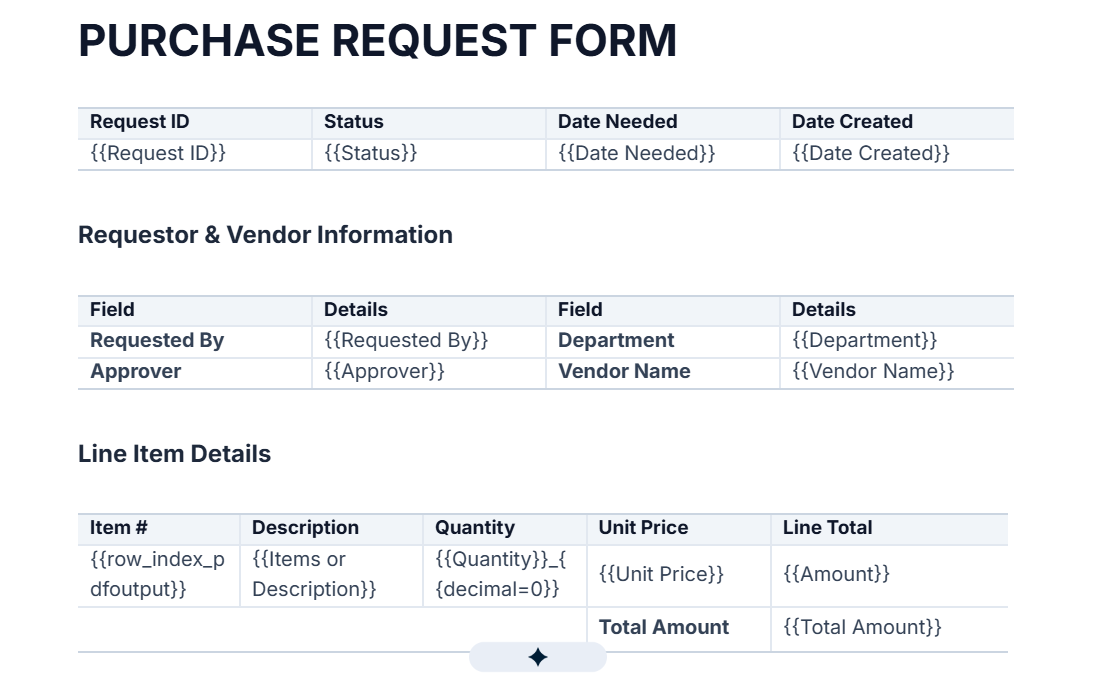
Next, setup a purchase request pdf template which can be used for generating the PDFs on automation.
This template can be created using Google Document or a Word File or a PDF File as well.
While setting up the template, make sure to include all the relevant details such as Business Logo, Business Registration Details, Contact Details etc.
But, instead of manually entering all the details one by one, we can use dynamic placeholders such as {{Request ID}}, {{Requested By}}, {{Department}}, or {{Vendor Name}} etc.
PDFOutput will be able to use the above placeholder use this kind of merge-tag or variable syntax, so the layout stays fixed while the content changes per purchase request created.
Here's a few design tips to obtain a professional looking result:
Step 3: Connect Notion with PDFOutput Automation Tool
!PDFOutput automation tool for connecting Notion Database and template file
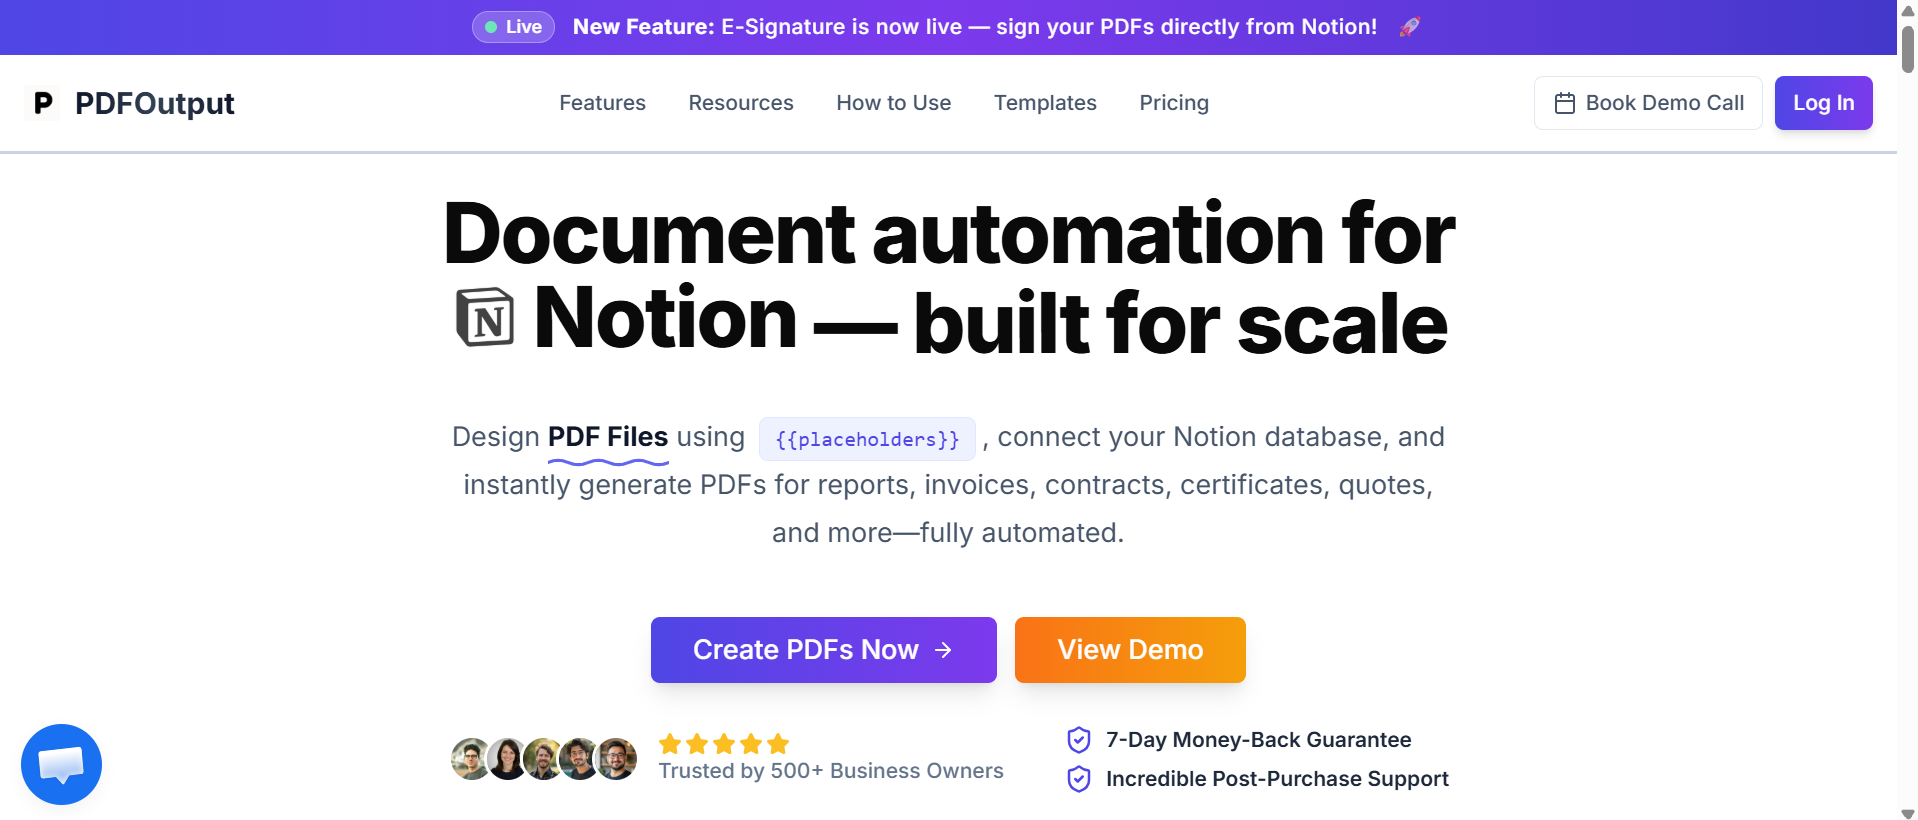
This is the step which involves actual setting up of PDFOutput automation tool.
Headover to PDFOutput website and create an account on PDFOutput and then add your Notion Database and add the purchase request template created earlier.
Once both Notion Database and the template are connected, its time to generate the purchase request PDFs right inside the Notion Database.
Purchase Request PDFs can be generated right inside the notion with the click of a button or even a status change of GeneratePDF to Ready to Generate will also help to generate the PDFs.
Refer to the detailed guide on how to setup PDFOutput automation to generate PDFs in Notion.
If you follow the above guide, you will find all the steps necessary to start generating your purchase requests directly inside the Notion Database with ease.
Step 4: Adding E-Signatures to PDFs Generated in Notion
This is an optional step which involves adding any e-signatures onto the purchase requests created.
If you require any e-signatures to be added to the purchase requests created, you can click here to follow the steps in detail on how to create e-signatures.
The above guide gives you a detailed step by step guide on how to add e-signatures onto your documents generated in PDFOutput.
Implementing e-signatures onto PDFs automated helps to generate the PDFs and saved it back into the notion Database with the e-signatures implemented on the document.
Step 5: Close the Automation Chain with Notifications and Alerts
Once the PDF exists, extend the automation one step further:
For more such helpful automations you can refer to this guide on 10 powerful automations every business owner must setup.
Common Pitfalls to Avoid
Final Thoughts
Automating purchase requests in Notion isn't about replacing your existing process, it's about removing the extra manual steps between "request submitted" and "document sent."
Using a structured database, coupled with updation of the GeneratePDF status marked when required would generate Purchase Request when you desire it be produced.
Once it's set up, every new request handles itself: from form submission, through approval, to a professional PDF ready for your vendor or finance team.
FAQ
Can Notion generate PDFs on its own?
Notion can export any single page as a PDF manually, but it doesn't have a native feature to auto-generate templated PDFs from database rows. That requires a connected automation tool like PDFOutput which can automate the process of pdf generation.
Can I process multiple line items of data while generating purchase requests?
Yes, PDFOutput is capable of handling multiple line items to be generated together in one single pdf. For this you can add multiple databases together connected through relation and rollups and generate the PDFs.
> Note: This requires users to be on a paid plan to generate PDFs using line items from multiple databases.
Can I produce batch PDFs using PDFOutput?
Yes, batch PDFs can be generated using PDFOutput automation tool. It supports production of PDFs in batches in one click of a button.
Can I merge PDFs generated in PDFOutput?
Yes, PDFs can be merged as well when it's produced from PDFOutput. PDFOutput supports merging of PDFs directly inside Notion Database as well.
Is this only useful for purchase requests?
No. The same setup works for invoices, purchase orders, contracts, and any other repetitive document your team generates from structured data.